Nikon F2: The best 35mm SLR
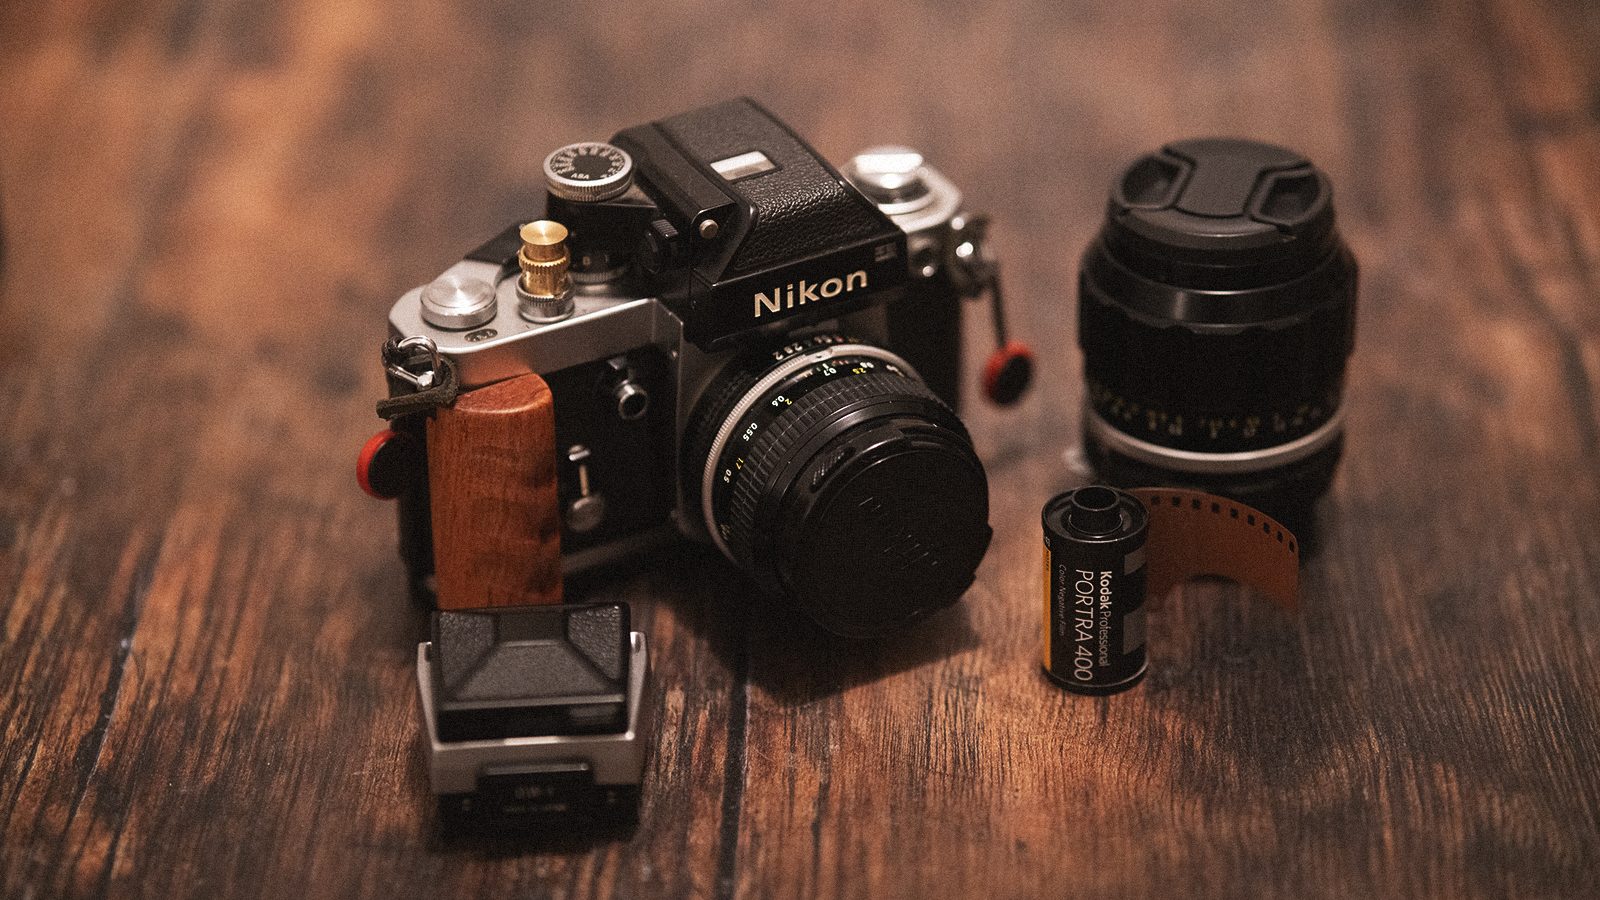
My go to setup for 35mm shooting
TLDR
Built like a tank, easy to operate and about as modular as you can with a 35mm camera, the F2 is a workhorse of a camera, no matter how you set it up. It never skips a beat and servicing/repairs are simple due to its mechanical nature. Best yet, there are lots of them out there, so picking on up won’t break the bank. Plus the range of lenses available for them is huge, making it easy to build a kit around them. Controls all fall to hand and, while weightier than some, it feels great to hold. Plenty of third party accessories allow you to customise it just how you like too. That’s open top of the wide range of Nikon extras you can pick up, from different viewfinders, to shutter releases, grips and flash adapters, to crazy magazines and motor drives.
What is it and why should I get one?
The F2 is the successor to Nikon’s F, still a much loved camera but a little less capable than the F2. It’s a modular camera, allowing you to swap out more than just the lens, as you might find on other SLRs. Being so adaptable makes it much more appealing to a broader range of photographers, as we all have different needs. No one camera can satisfy all we need, so being able to swap parts out is a real boone.
The F2 is perhaps a little larger than other SLRs and weighs a bit more than most but that can be a benefit and any enthusiast or pro shooter will understand the benefits and that weight gives a real sense of confidence and rightly so. The build quality of the F2 is top notch. It will survive knocks and drops and I’m confident I could fight off any would be mugger with it, leaving it unscathed.
It’s a fully manual camera and in its most basic form is fully mechanical too, so no worries about batteries dying or electronic gremlins. It has a battery compartment (for a single SR44 type battery) but will run without it. That is only used if you have a metered prism on top, more of which later.
Then there’s the ecosystem, which is massive. You can get a wide variety of extras for it and all for reasonable money. For example, if I wanted to buy a new ground glass and waist level viewfinder for my Hasselblad it would be in the region of £500 minimum. For the F2 it would be far less than half that, for a similar age and condition. This comparison runs across the board. You can pick up a good condition body, from the 70s for under £200. Give it an annual service and it will last decades more.
All of that is before you’ve taken a single photo!
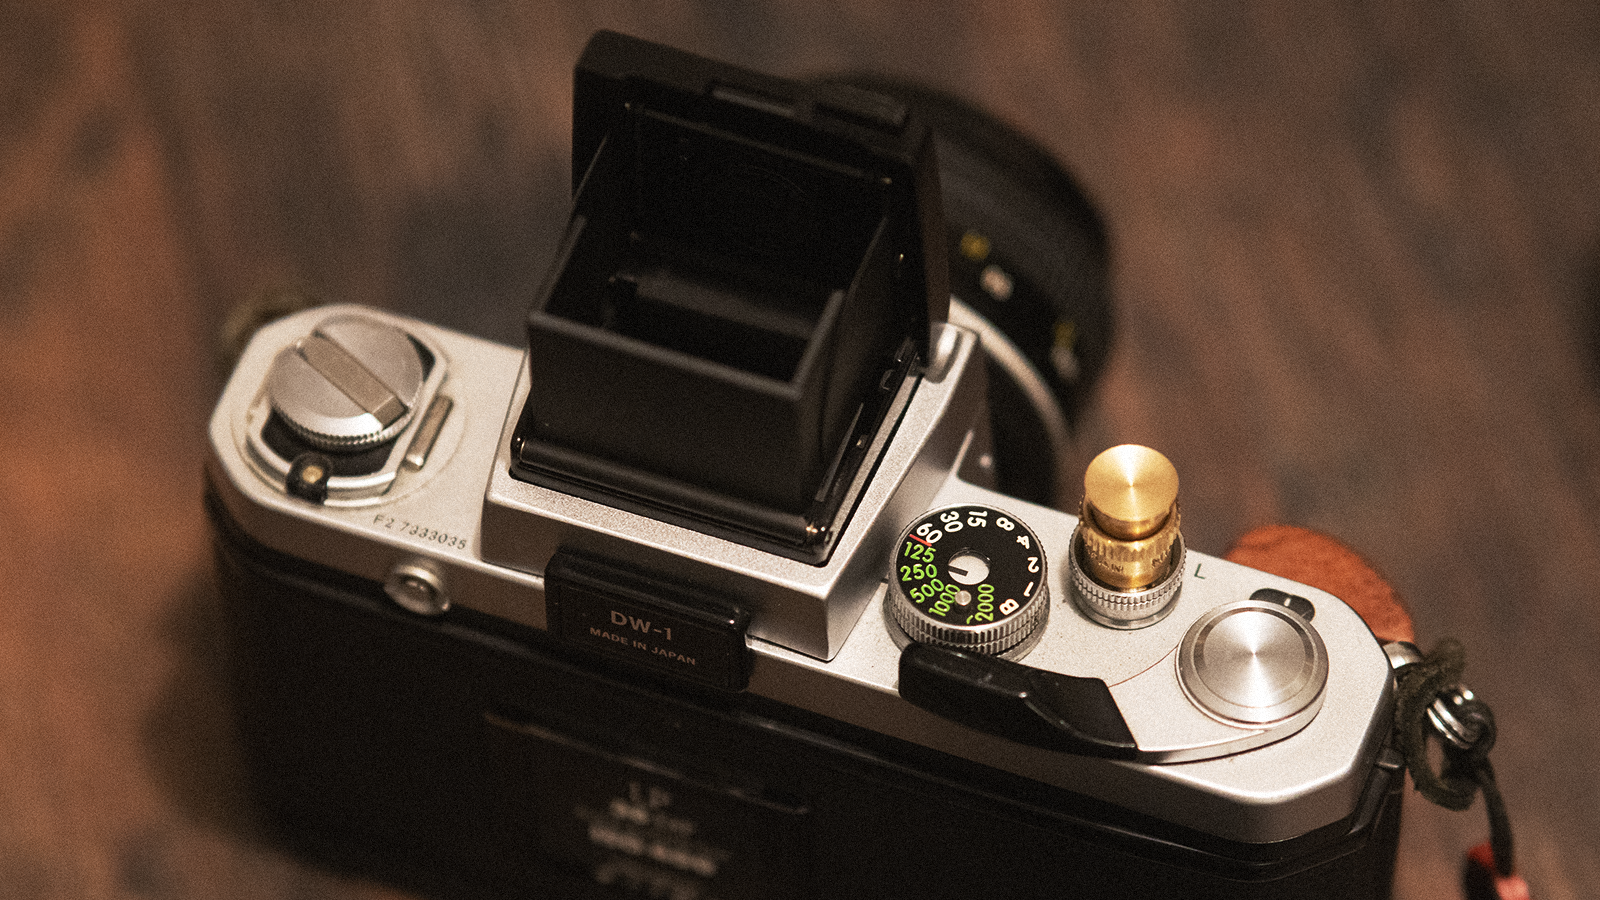
If you don’t mind the lack of a meter, the DW-1 is a great viewfinder.
Nikon F2 - Handling and performance
I’d say the F2 handles perfectly, in any shooting situation. While there may not be huge variance in control layouts for SLRs the F2 just feels right, with everything falling under the hand in just the right place. Granted, things will be slightly different given the range of viewfinders and metered prism etc but still, the layout is ace.
Shutter button, top and front, surrounded by a ring for locking and time mode, Shutter speed behind and to the left, with speeds from Bulb to 2000th which is rare on a camera of this age. The winder in the usual position, which also serves to activate the meter, when fitted. Pull out to turn it on and push back in place to deactivate. This is the right way to do it as you’re far less likely to drain a battery by mistake.
To the left is a simple rewind crank but it has a secret. Because the F2 has a range of viewfinders, the usual location for a hot shoe isn’t really viable, so Nikon use an accessory, which slips over the crank. I like this setup because I only need to add it when using a flash, which is rarely. The rest of the time it can be stashed in my bag. There’s also a flash sync port on the front of the body, just beneath the crank.
Also on the front is the lens release button (remember Nikon lenses twist the opposite direction to most brands), a mirror lock up lever surrounding the depth of field preview button and below that is a the self time lever.
To stay organised you’ll find a frame counter in front of the film advance lever and the usual film identifier slip on the back door.
Now, the shutter speed control is indexed, so that when you fit a metered prism, the camera knows what is going on. The meter sits over this, with a new dial on top, for setting film speed. You can still see your shutter speed though, as it is marked on the sides as well as the top face.
Lastll, there’s the release button, a 1/4”20 thread and the latch for the door, on the underside.
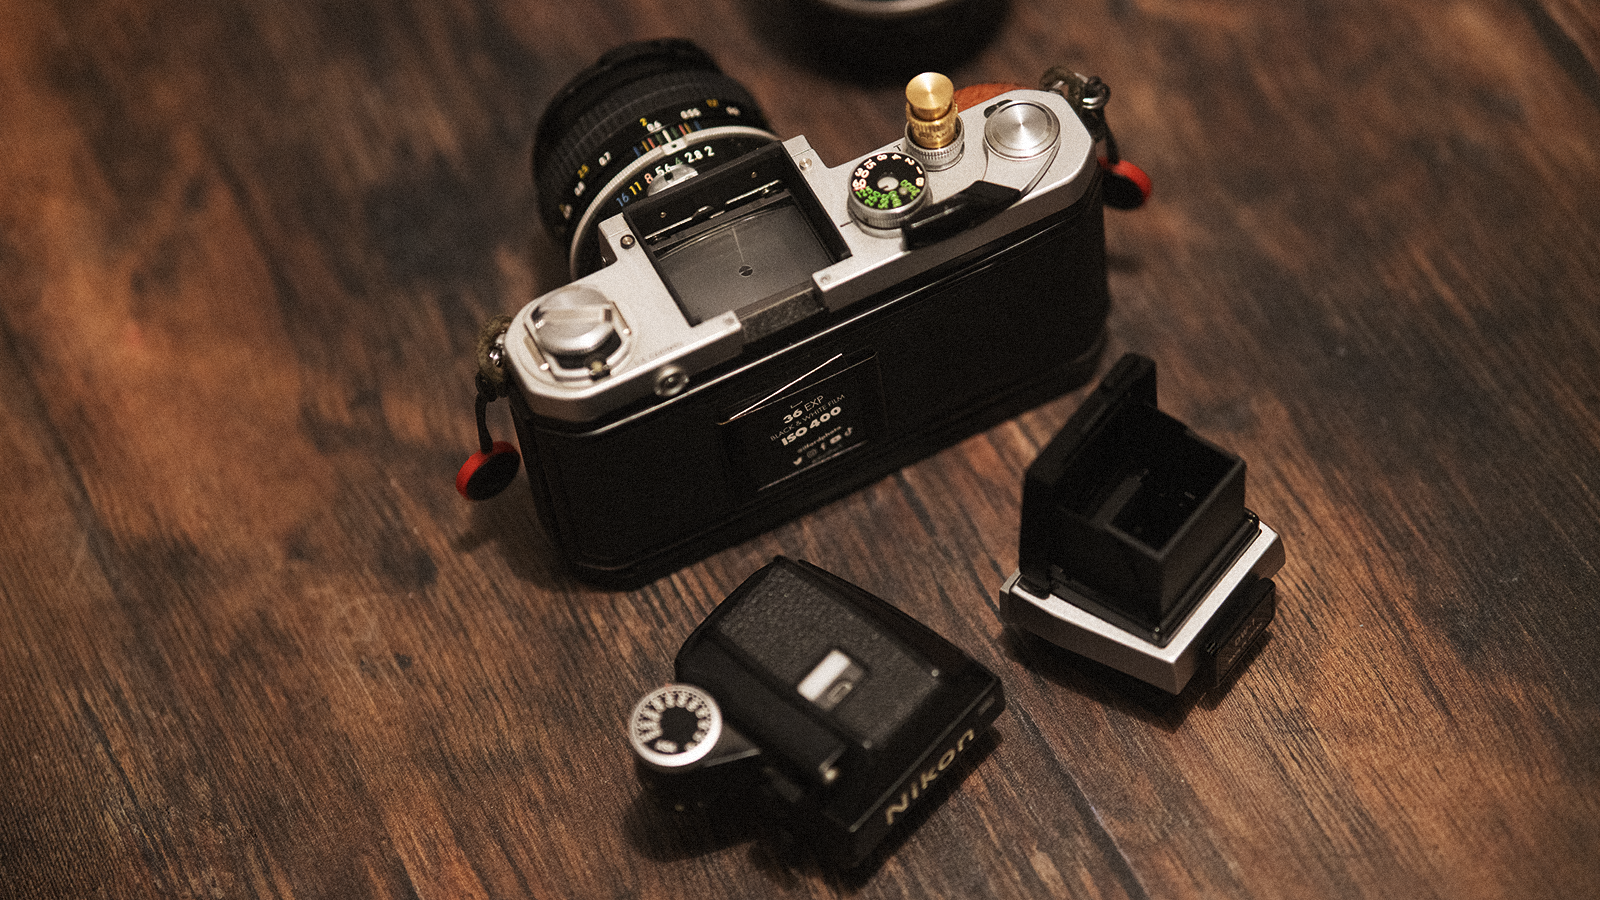
The option to swap finders is very appealing.
Choice accessories
Now is where it all comes down to personal preference, so I’ll talk about some of the additions I’ve made to fit how I like to work. This will vary from job to job but that’s the benefit of a modular system and I often mix things up.
The thing I use most and is almost always attached is my grip. There are many available but this is my favourite. I like the look and feel of the wooden handle, the build quality is great but also, unlike some, it offers full access to the release knob and door release. Now, it may use the tripod mount to attach to the body but that’s totally fine, as the bottom plate has an integrated area swiss mount. Seeing as that’s the system I use for photography it’s all good and one less thing to worry about. They are available here and also come in silver.
Nikon DW-1 waist level finder. This might not be everybody’s cup of tea but I’m a big fan of a waist level finder. I like it for general shooting but it’s almost essential for low level work. Digital cameras with articulated screens make this so much easier! There’s something almost magical about viewing a scene this way too. Same as on my Hasselblad. The DW-1 is affordable and plenty are available on sites like ebay. Easy to swap on and off too. Just a press of the release button on the back of the camera (they can get stiff) and lift it away. There’s a magnifier built in too, for nailing critical focus. Obviously this will mean there’s no meter but a phone app or handheld meter will work fine. I rarely use a meter these days, so it doesn’t bother me at all.
Shutter release. This serves two purposes for me. First is simply because I like the feel of a soft release but secondly and more pertintly for the F2 is this particular one raises the button, so it’s more comfortable to jump to directly from the shutter speed control, when using a metered prism. You can buy original Nikon ones but plenty of sellers make them, in various colours, with red, silver and black being most common. I personally find the brass one looks neat with the black silver and wood.
DP-1 metered prism. Nikon made a number of prisms, some metered, others not but the DP-1 is my favourite. Mine is nearly 50 years old and still going strong. It’s accurate and easy to use. This uses the ‘rabbit ears’ to sync to the aperture and has the link to the shutter speed I mentioned before.You can clearly see the indicator inside, along with both f-stop and shutter speed, plus there’s another indicator on top, making it useful even when not looking through the finder. Removal is a case of pressing the button the rear, along with a press and a turn of the release level on the side of the meter.
Peak Design Slide strap. I use this strap for most of my cameras. It’s comfortable, hard wearing and reasonably attractive but has the benefit of ease of swapping. There’s no need for me to have a strap mounted to everybody (I currently have a growing collection of 20+ cameras) but the Peak Design system means I can buy just the anchors, switching a single strap between whichever body I’m using. Much more cost effective and available all over. Grab one here.
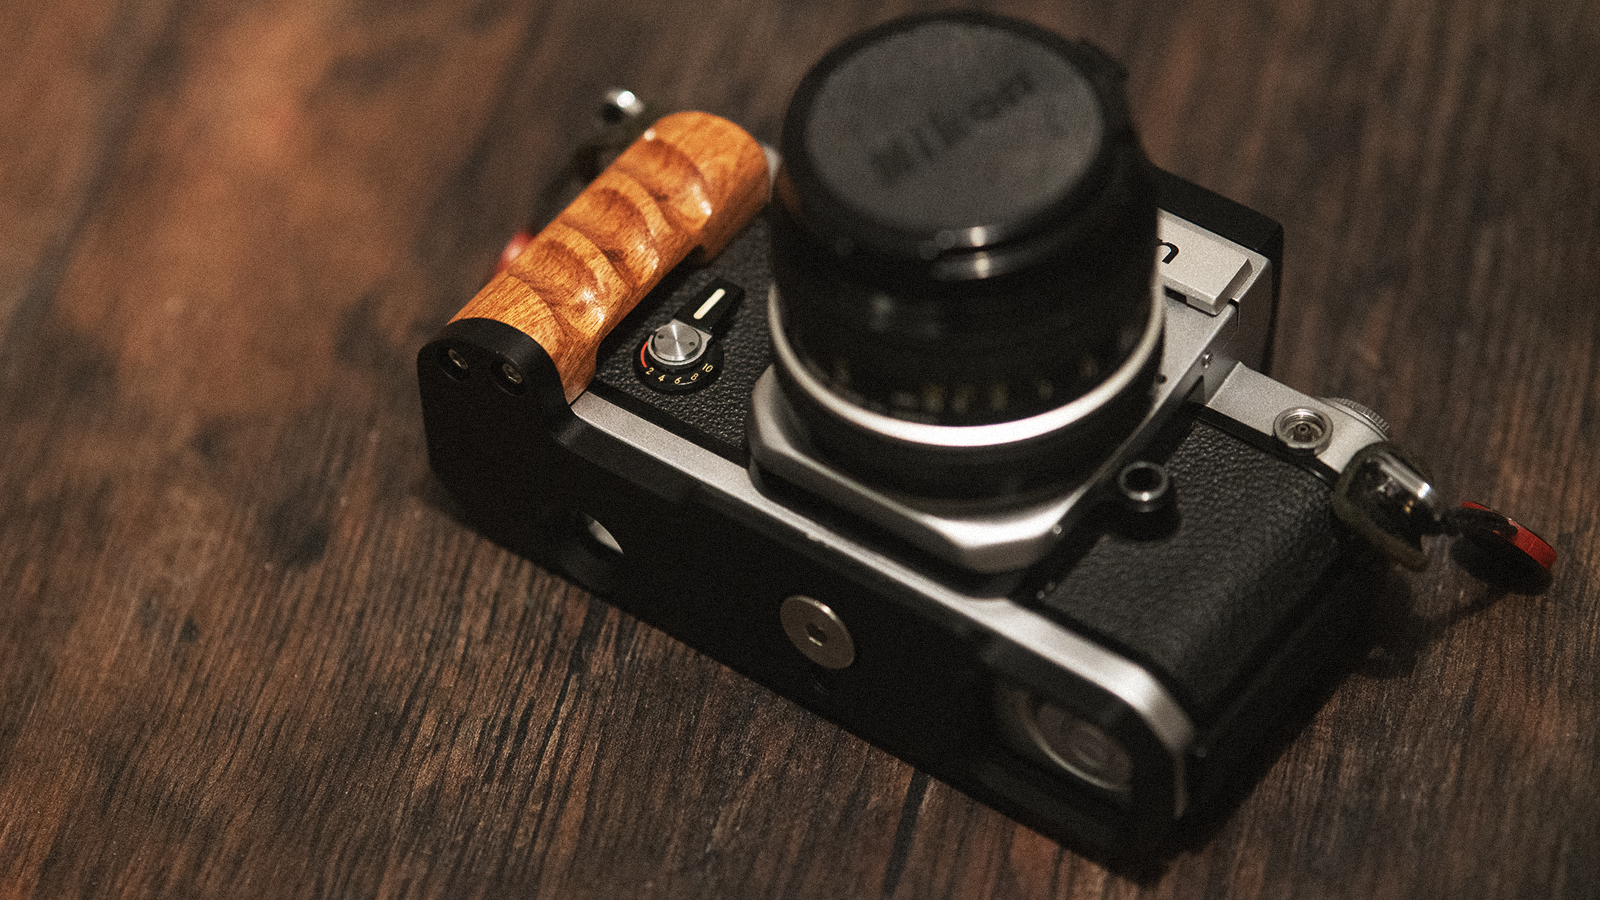
My chosen grail is arch Swiss compatible and has a neat cutout for the self timer.